Years ago I took a short Documentary Video course. It was easy for me to use a video camera, but editing was something I knew absolutely nothing about. The most useful part of the course was when the teacher sat with me for five minutes and edited a short sequence of quick cuts. I was amazed and relieved that she did it all so quickly and intuitively – if it looked right it was right – which is just the way I like to operate. It was a “So that’s how it’s done!” moment that I remember well.In the same spirit I’d like to show you my simple, visual approach to restoring an old picture. There must be millions of faded family photographs that we’d all like to transfer to our computers, so here’s some tips about how to deal with them.Digitizing
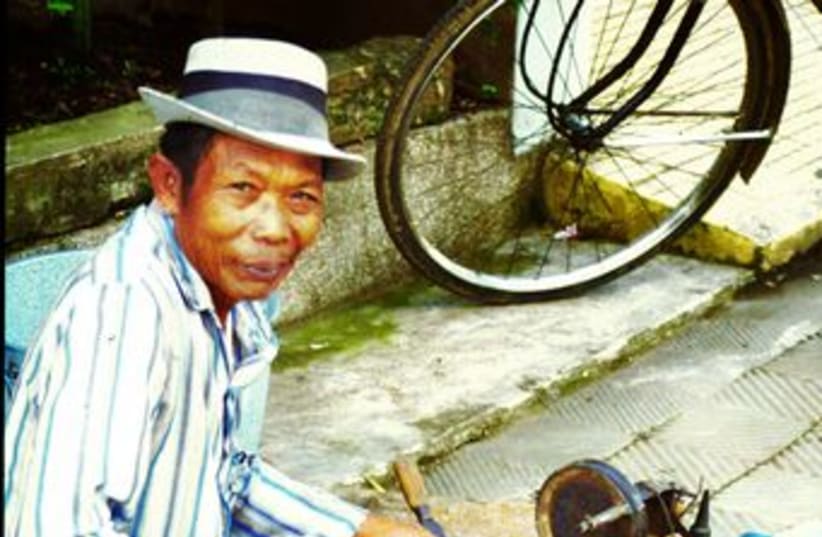
The simplest way of turning old photographs into digital images is to have them scanned at a photo lab. If you are fortunate enough to have a modern flat-bed scanner you can do this yourself. If you have any larger prints you can also take a photograph of them, then crop this in the computer. Many programs can help you here: Picasa is a fee to download and can be recommended.When they are in the computer I use Photoshop to restore them. For me it’s the best program both to restore old pictures and to improve digital pictures taken with my camera.Below is a picture sent for constructive criticism by an anonymous reader. This was an old transparency that as scanned, was difficult to know if the strong magenta cast is because it had faded, or was the result of a poor quality scan. I’ll need to restore it before I give any feedback.
I almost forgot to mention that this is an excellent shot. It tells a story: The primary focal point is, of course, the man’s face, but then the angle of the camera and dynamic composition draws our gaze down to what he is doing. After looking at the apparatus and clutter our eye is pulled up to the bicycle wheel in the top corner - perhaps he cycles around doing his job? When your eye moves around a picture like this it gives a sense of movement and life to the scene. It’s like a short video telling a fraction of a story that our mind tries to fill in. On other words, it’s interesting: It’s an excellent shot.
Constructive Feedback
If you are aspiring to develop your photography skills, send me a picture and I may use in one in my articles with some constructive feedback.Send one picture only, at a small size to suitable for emails to jpost@langford.co.il.
If you don’t know how to send a photo by email at a small size please look at my Brief Guide to Picasa: www.langford.co.il/courses/PicasaGuide.html
Tom Langford is an Event and Commercial photographer, website designer, and professional retoucher. He teaches photography courses for beginners and improvers. Details of his courses and field trips at: http://www.langford.co.il/courses
